Showing posts with label craFts. Show all posts

Tuesday, September 7, 2010

Home Depot Kid's Workshop

Have you heard about this?
On the first Saturday of each moth, Home Depot puts on a workshop for kids ages 5-12.
My boys went with their dad for the first time on Saturday and had so much fun.
They got to use a screwdriver and hammer to build a little table that can also be used as a football stand.
Check out more details here.

*photo from the home depot website*

This is definitely something we'll do again!
Did I mention that it's completely FREE?

Sunday, July 25, 2010

CD Spinners

Saw this idea in a Family Fun magazine in a waiting room the other day.
I love easy, fast crafts. I typically don't have the patience for anything else.

Materials:

CD
Shooter Marble (the others are too small)
Glue
Water Bottle Top
Spinner Template (optional)


go HERE to download a template for the CD SPINNERS craft. The template will be on the front page under "Featured Ideas."
You can make these without the template. It just makes them more colorful and fun to watch.
You could also just decorate your Spinner anyway you want.

DirectionsColor the template and adhere it to one side of the CD.
Glue the marble on the center of the CD.
Glue the water bottle lid to the center of the other side of the CD.
Let dry.
Use the water bottle lid as a handle and SPIN!


Wednesday, July 7, 2010

Summer Houses

The holidays are just so crazy!
It's often hard to sqeeze in each and every fun tradition that you and your kids want to do.
So, I thought it would be fun to make gingerbread SUMMER HOUSES.
One more fun thing to do in the summer and one less thing to do at Christmastime!
Perfect!

Tuesday, July 6, 2010

Cardboard box fort

Had an odd shaped box laying around.
So, we turned it into a little playhouse.
They weren't too interested in decorating the outside to look like a real house, like I suggested.
But, it was very important to have a sunroof / lookout widow!
The inside did get decorated with a tv and video games though.
Only the essentials!

Friday, July 2, 2010

Decor. for the 4th

Here's what the boys made to decorate our house for the 4th of July.


They traced their hands (3 of each color) and glued them together into the wreath shape.
So simple, but it kept them busy for a while. I figure it's good for developing fine motor skills.

And, yes, my husband installed 2 peep holes in the front door.
One for me & one for the boys.

Monday, June 28, 2010

Sun Prints

Here's an easy science project for ya.
I know it doesn't look like much, but my boys were pretty impressed.

Get some construction paper
Lay it on the ground in the sun
Place various objects on top
Let sit in the sun for a while (ours were out approx. 6 hours)
Take objects off and see how powerful the sun can be!

                           BEFORE                                                                                 AFTER                            


This was such a simple little project.
My 7 year old (the "future scientist") loved explaining this experiment to his dad that night
and he's ready to do it again tomorrow with different objects.

Wednesday, June 23, 2010

Don't forget the quiver!

My boys were very excited about making the bow and arrows.
But, they immediately just had to have a quiver to carry their arrows on their backs.

We just cut the sides of a cereal box to flatten it,
turned it inside out,
closed it back up again with duct tape,
put the sticky sides of some more duct tape together to make a shoulder strap
and, taped the strap onto the box

That's it!

Check out the last post to see a picture.

Monday, June 21, 2010

Watch Out Robin Hood!

I've had the idea for this project for a while. I was saving it for the "I'm bored" days of summer.

Here's the link where I originally got the idea.

Materials: (all found @ Home Depot)
  • 1/2" PVC pipe (it was about 40" long which was enough for 3 bows)
  • wooden dowels for arrows (we cut them in half)
  • colored electrical tape
  • twine that has nylon in it
  • something to cut with (we used a small saw)
all materials were only about $9 - that was enough for 3 bows)


Cut your PVC pipe for the bow.


Decorate the bow with the electrical tape.


Cut a notch in both ends of the PVC pipe
Cut some nylon twine about the length of the bow
Tie knots in the end of the twine and secure it into the notches on the pipes
Cut your arrows to desired length


Then, make a groove in one end of each arrow
Pull back hard and let 'er fly!


My 7 year old got the hang of it after a while.
The 5 year old struggles, but still likes it.
The 2 year old just likes to carry it around and pretend.

Friday, June 18, 2010

How Cool is This Guy?

Came across this blog a few days ago.
He has some really unique cutout things.
I love how everything is so simple yet creative.
We'll be making these to take when the boys need to sit still for a while and have something to do.
(car rides, restaurants, etc...) Did I just say restaurants? Hmmm... Can't remember the last time...


Are your boys into helicopters? This one looks and fun too.


One more. There are other fun things on his site. These were just some of my favorites.

This is a great tool for those learning their letters. You could really use it as a learning tool for almost anything your child needs to work on. And, it's practically free. It's made of rocks! This guy is clever!

We'll be working on something really fun this weekend.
If all goes well, I'll post an awesome boy project on Monday!

Wednesday, June 16, 2010

Disguise Kit

Found this cute printable on another blog.
The boys had fun being silly with these.

Print the disguise kit here.

Friday, June 4, 2010

Summer Survival

School is out and summer has officially started.
It's hot here.
I mean, really, really, really, brutally HOT!
So, besides swimming and jumping on the trampoline with the hose, there's not much to do outside.
I had a coupon to Michael's Craft store.
So, we headed there to pick up a few things to keep busy inside.
Here's what I got for around $40.
The summer workbooks were the most expensive, but worth it.


I put all the goodies into a cardboard box so when the kids are
 "bored" they can go and grab something to try.

Some of the items, we picked up for only a buck!
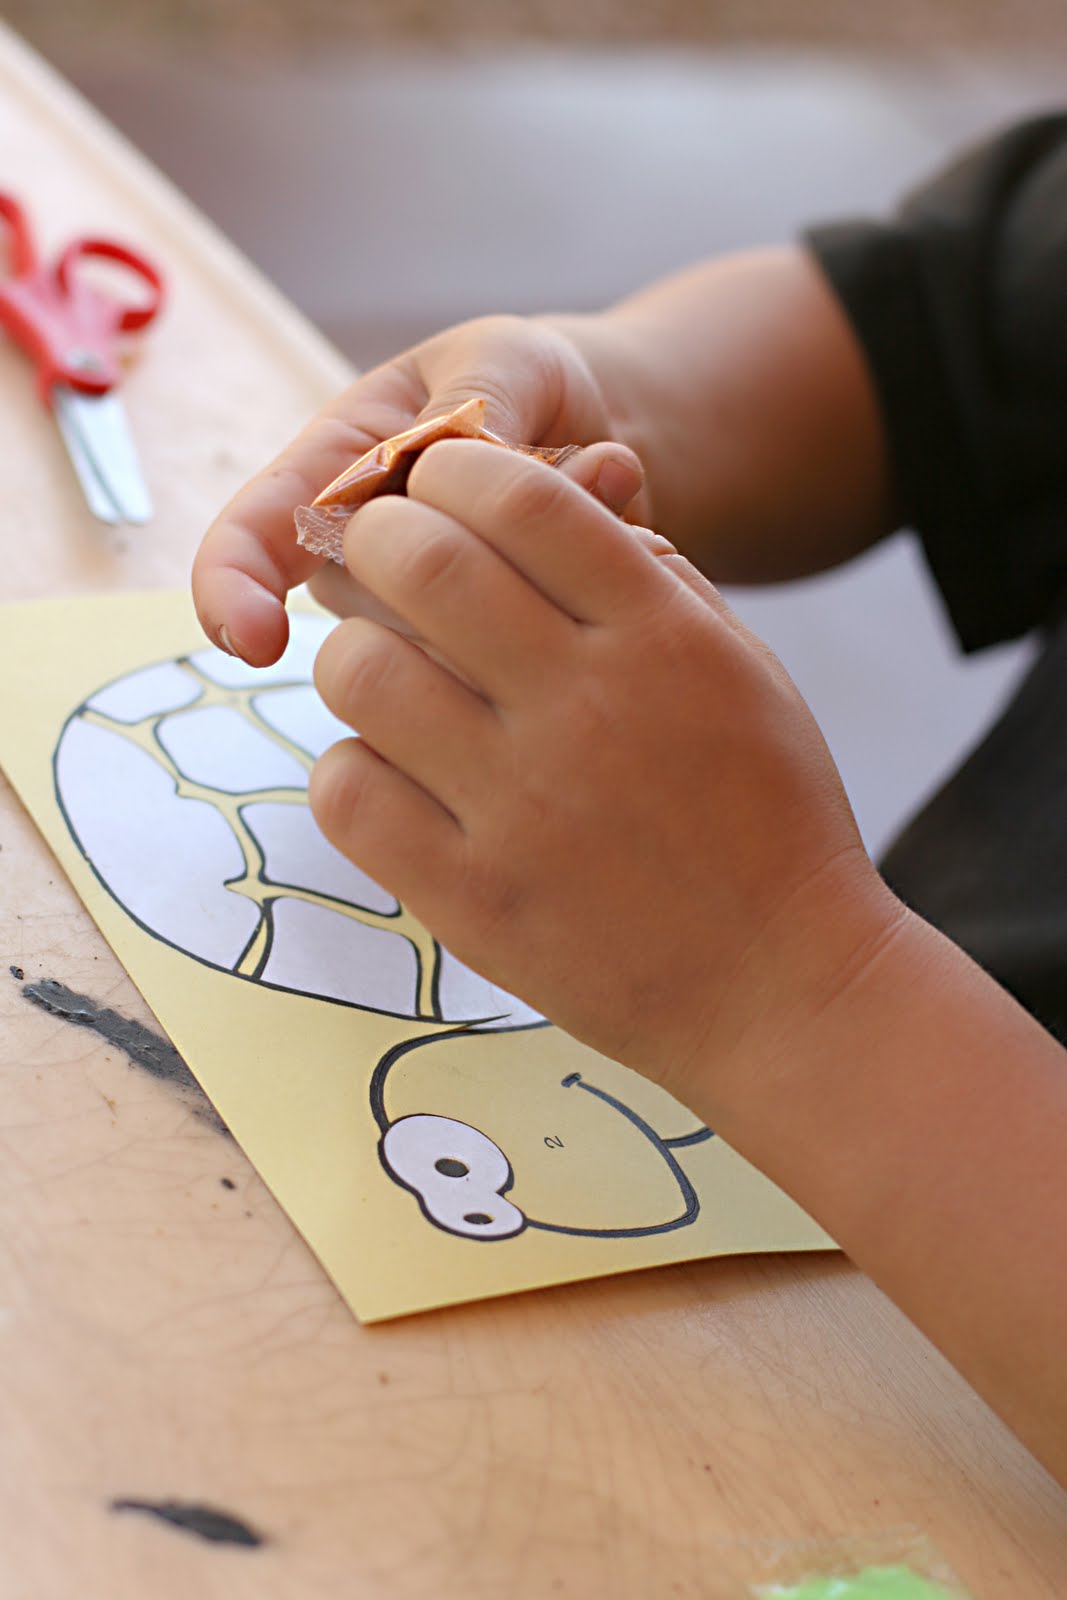
Like these sand art things.
They really liked these.
We may have to go back and snag some more.