Showing posts with label sCience. Show all posts

Monday, August 16, 2010

Mini Water Cycle

One last science project before summer break is over!

C & I made a mini water cycle.

First, get 2 bowls, one bigger than the other. Preferably the smaller one will be heavier than the larger one.
Place the small bowl inside the larger bowl.
Put water into the larger bowl, being careful not to get any water into the smaller bowl.
Cover both bowls with plastic wrap.
Put a rock or some sort of weight onto the center of the plastic.


Set outside or near a window.
Pretty soon (depending on the weather) you'll get some evaporated water in the smaller bowl.

And, that's your mini water cycle!


*This experiment could also come in handy if you're ever stranded on a deserted island,
with no fresh water source...
and you happen to have 2 bowls and some plastic wrap*

Friday, July 30, 2010

Blow It Up!

Here's a little science experiment that C and I did last summer.
Found directions for ya at Funology.com.
It's a great website for all kinds of funstuff.

Monday, June 28, 2010

Sun Prints

Here's an easy science project for ya.
I know it doesn't look like much, but my boys were pretty impressed.

Get some construction paper
Lay it on the ground in the sun
Place various objects on top
Let sit in the sun for a while (ours were out approx. 6 hours)
Take objects off and see how powerful the sun can be!

                           BEFORE                                                                                 AFTER                            


This was such a simple little project.
My 7 year old (the "future scientist") loved explaining this experiment to his dad that night
and he's ready to do it again tomorrow with different objects.

Monday, June 7, 2010

GAK Attack


We liked making and playing with the OOBLECK so much, that I searched around for something similar.
This time we made GAK.
It's just 3 ingredients and not as messy as the oobleck.
I'm sure we'll make it again.
I even let the 2 year old play with it... outside that is.

Ingredients:
1 cup Elmer's glue
Food coloring (optional)
1 cup liquid starch (found near the spray starch & laundry detergent)

Mix glue and food coloring in a plastic container.
Add the liquid starch a little at a time. You can stir with your fingers or with a spoon.
Soon, the mixture will resemble putty.
If it's too sticky, just add a little more starch until it's a nice rubbery consistency.


Thursday, May 13, 2010

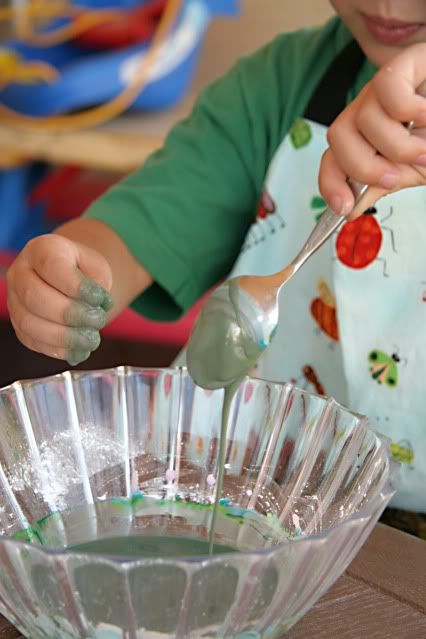
Have you ever made OOBLECK?

This substance is pretty cool.
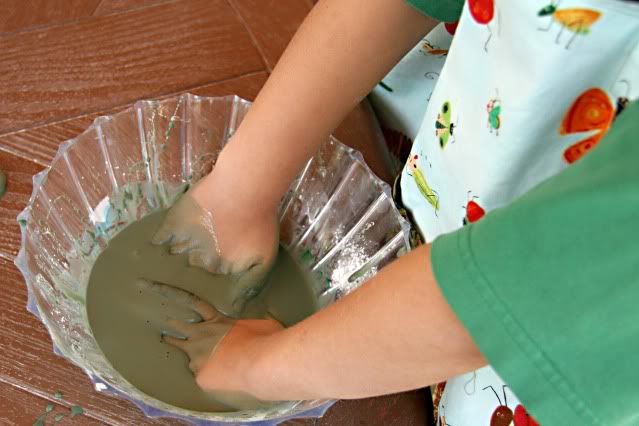
We were amazed at how it transforms over and over again with just a touch!

What You'll Need:
2 parts cornstarch
1 part water
food coloring (optional *my son's hands are still a lovely light green color*)

(this also turned out to be good reinforcement of primary colors
& how they turn into secondary colors)

Just mix it together.

Then watch as it changes from liquid (or like a liquid)


to a solid when pressure is applied.


Try this with it:

-  Smack it! If you hit the mixture really hard, it might even break.
- Pour it from hand to hand. If you go slowly, it will pour freely.
- Roll it into a ball. If you keep rolling, you can roll it into a nice ball.
Of course, as soon as you stop rolling, it will ooze and turn back into a puddle.
- Bounce it! If you get the right consistency, you can even bounce a ball of this goo!
* I also saw a video of someone who was walking in a big container of "Oobleck".
If you walk fast enough, you can stay on top of the goo.
That looked fun, but I wasn't up for that today. Maybe another day. *

Wednesday, April 28, 2010

Speaking of Balloons...

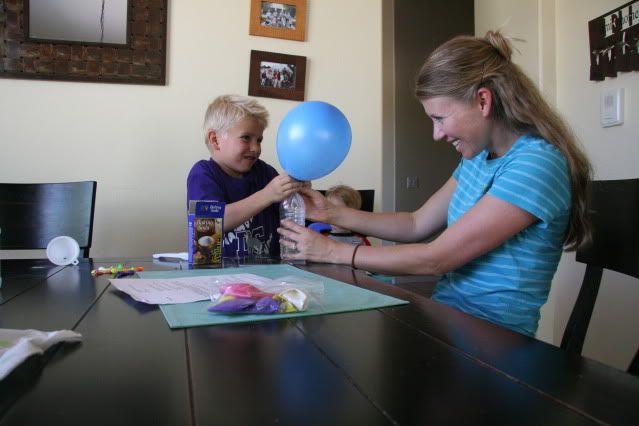
My boys discovered static electricity!
I told them I wanted to show them a magic trick.
Then, said a few magic words for effect.
Do you remember doing this as a kid?


How easy & fun is that?

Friday, April 23, 2010

Failed Attempt

Well, here's how it went down...
My first grader had a half day (out of school @ noon).
So, for a week, we had planned on going swimming at our community pool.
The boys need to brush up on their swimming skills to get ready for summer swim team.
It had been in the 90s for over a week.
Wouldn't you know it, we woke up to cloudy skies, wind blowing and a high of 65 degrees!
Can't really complain, 65 feels awesome, but not in a swimming pool!
So, I had a little project I've been wanting to try.
Perfect day to do that, right?
We went to 4 stores trying to find the right kind of water bottle.
We never did find them!
But, I thought I'd post the project anyway.
Hopefully I'll find the right water bottle one of these days... or maybe you will...

Here it is:
HOVERCRAFT
Materials:
- balloon
- glue or duct tape- CD
- spout from water or juice bottle (not just any spout - it has to be the kind with the pop top, or maybe it's called a sports top?)

Instructions:
Glue the spout over the center of the CD. You can use craft glue, or a hot glue gun. Masking tape or duct tape would work too, but be sure the seal is air tight.

Push the spout down so that it is closed and no air can pass through.

Blow up the balloon. Don't tie it! Carefully stretch it so that it is over the spout.

Hold the bottom of the balloon in place with one hand. With the fingers of the other hand, carefully lift open the spout.
 The air in the balloon with be forced out through the drinking spout. It will create a blanket of air almost like a hovercraft. The CD, propelled by the balloon, will scoot all around the floor.

When it stops, just blow the balloon up again for more fun.

Sounds cool, right? Maybe some of you out there can find the right spout. Let me know if you do!


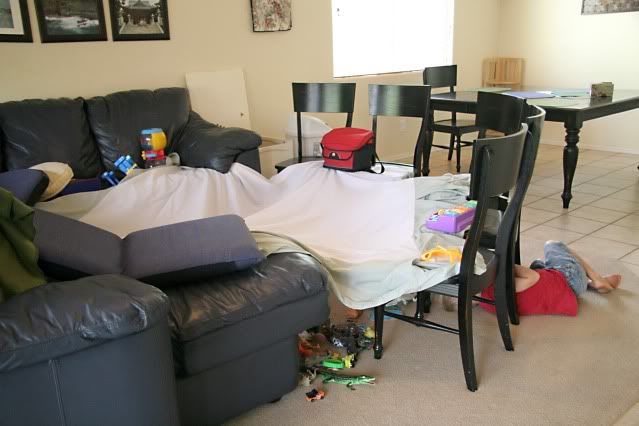
So, after trying 2 different fun activities, we made a fort with my old dust ruffle and the dining chairs, and threw in all of the plastic animals we could find.
It kept them occupied for all of 15 minutes!

You know what kept them happy for even longer?
The balloons from the failed hover craft attempt!
My 2 year old played with them for quite a while. In fact, he's playing with them again today.

Sometimes I wonder why I try to get all fancy with different projects and crafts!
Sometimes it's the simplest things...

Thursday, April 1, 2010

Super Science

My oldest says he's, "a future scientist."
He loves to do experiments.
Here is one we did last summer.
Fun & Delicious!... & easy!

Ice Cream In A Bag


Ingredients:
quart & gallon zipper bags
1/2 cup milk
1 tbsp sugar
1/2 tsp vanilla extract
6 tbsp salt (using Rock Salt is quicker, but I've found that regular salt works just fine)
2 cups ice cubes (1 ice cube tray worth)
*makes about 1 scoop of ice cream*
 
Mix vanilla extract, sugar, and milk. Pour into smaller size bag and seal closed. Put ice cubes and salt into larger size bag. Place the bag with milk mixture into the ice mixture bag and seal closed.

Make sure bags are sealed COMPLETELY.  Shake, shake, shake. Be careful not to get too rough or the salt my leak into the ice cream. You will feel the ice cream getting thicker. It takes about 5-10 minutes.

When ice cream is desired thickness, remove bag from ice mixture. Wipe the outside of bag with to remove salt, but DON'T rinse the bag under water or the ice cream will begin to melt.

Eat plain, or add our favorite, chocolate sandwich cookie pieces & chocolate syrup.

Here's WHY it works: (mine always ask "why?", do your's?)
"Ice has to absorb energy in order to melt, changing the phase of water from a solid to a liquid. When you use ice to cool the ingredients for ice cream, the energy is absorbed from the ingredients and from the outside environment (like your hands, if you are holding the baggie of ice!). When you add salt to the ice, it lowers the freezing point of the ice, so even more energy has to be absorbed from the environment in order for the ice to melt. This makes the ice colder than it was before, which is how your ice cream freezes. Ideally, you would make your ice cream using Rock Salt, which is just salt sold as large crystals instead of the small crystals you see in table salt. The larger crystals take more time to dissolve in the water around the ice, which allows for even cooling of the ice cream."